



This Tiles Survive beginner guide starts where most guides skip ahead: getting the free Windows PC version installed, creating your account and logging in, so your progress is safe from the first minute. After that, it covers what to build first, how survivors and heroes work, and which habits save you the most time in FunPlus’s zombie survival strategy game.
The PC client is free on Windows. Download Tiles Survive free for Windows PC.
Key Takeaways
- The official Windows launcher is a small installer that downloads the rest of the game for you
- Bind your account to a login method right away so progress carries between PC and mobile
- Mobile players can log in on PC with the same App Store or Google Play account
- Power Plant level gates many features, so keep it moving
- Pick one hero faction to build around and join an active alliance early
Step 1: Download and Install the PC Version
Tiles Survive has had a native Windows client since May 8, 2026, so you don’t need an Android emulator. Here’s the process:


- Get the installer. Use the download link above, or open the official site at tilessurvive.com and click the Windows download button. The file is called Tiles.Survive.PC.V1.0.exe and is only about 1 MB, because it’s a launcher setup, not the full game.
- Run the setup. Double-click the file and follow the on-screen setup prompts.
- Let the launcher download the game. Open the launcher and let it download and install the game files. Plan for a download of around a gigabyte: the iOS version alone is 977.9 MB, per the App Store listing.
- Start the game. When the download finishes, start the game from the launcher. Keep the launcher installed for future patches.
Step 2: Create Your Account and Log In
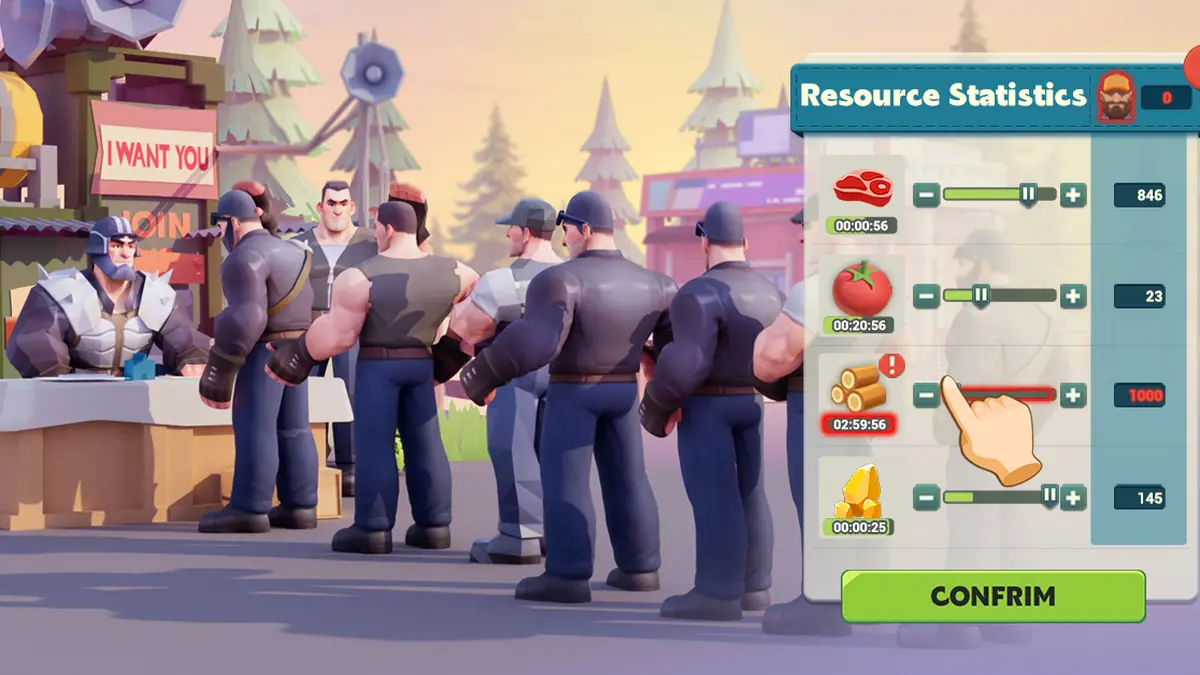
How you log in depends on whether you’re new or already play on a phone.
- New player: On the first launch, choose a sign-in method from the login screen and finish the short sign-in flow. Account guides list FunPlus ID, Google, Facebook and Apple ID as the supported options. A FunPlus ID is the simplest choice if you only play on PC, because it doesn’t depend on a phone ecosystem.
- Bind it straight away: If you started without a linked login, tap your avatar in the top-left corner, open Settings, then Account, and bind a login method. FunPlus’s terms warn that switching devices or operating systems can risk account data loss, and a bound login is your protection.
- Already playing on mobile: FunPlus says that if you originally downloaded from the App Store or Google Play, you can log in on PC with the same account. Make sure the account is bound on your phone first, then pick the same login method on PC. Your progress syncs both ways. If you’re unsure which device to use day to day, my Tiles Survive PC vs mobile comparison breaks down the differences.
- Find your UID: The same avatar menu shows your player UID. Write it down. Support and the official top-up center both ask for it.
If you get stuck at the loading screen, FunPlus’s support replies on Google Play point to the support icon in the top-left of the loading screen, or email at [email protected].
Step 3: Your First Buildings and Tiles
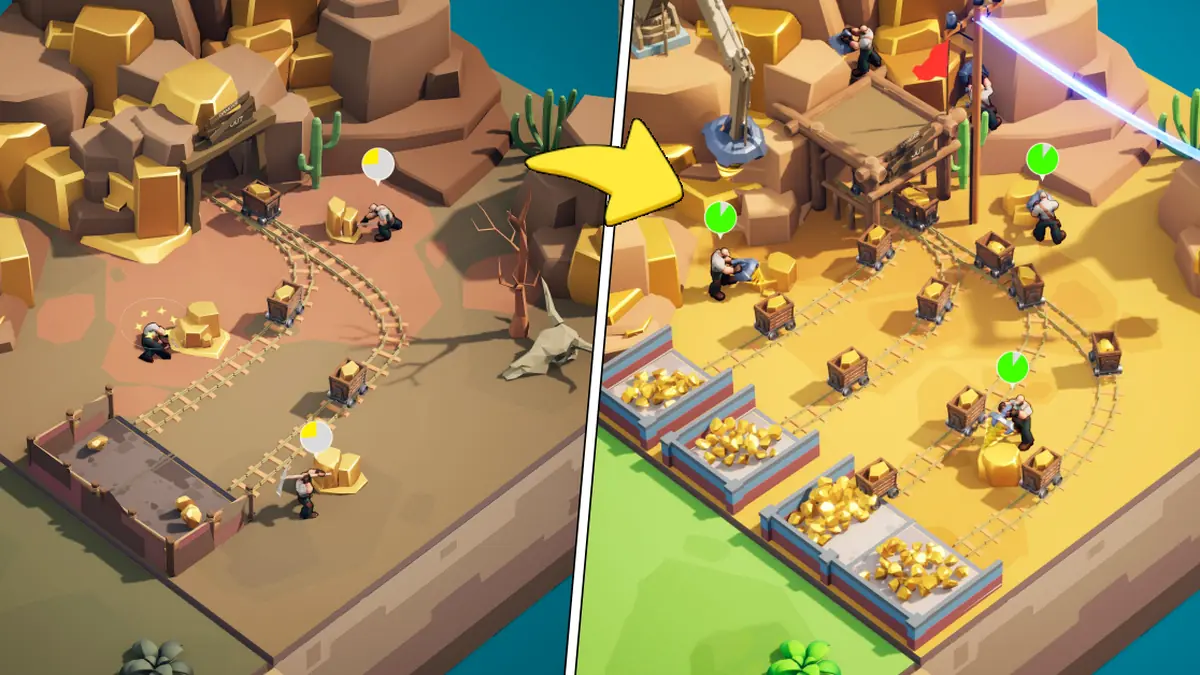
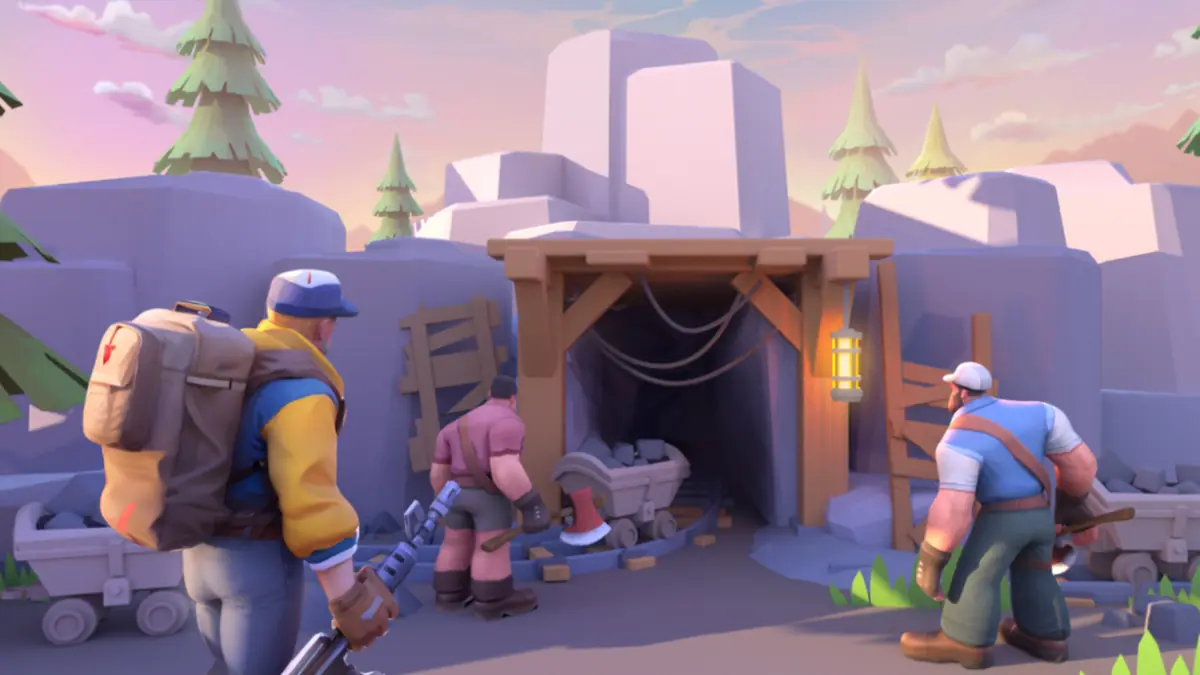
The opening follows Sarge as he turns a ruined area into a settlement. Each tile you clear adds land, resources and new threats. Focus on three things:
- Power Plant first. Electricity speeds up production, and the Power Plant level gates later features. Even the World Map Emoji added in version 2.6.200 needs a set Power Plant level. Community guides also tie troop tiers to it. For which troop types to train, see my Tiles Survive troop counters guide.
- Keep production chains connected. Upgrade the buildings that feed your food and materials before decorative ones. Idle production costs more time than anything else early on.
- Assign survivors well. Survivors work as hunters, chefs, lumberjacks and more. Watch their health and morale, because low morale cuts productivity.
Step 4: Heroes, Factions and Pets
Heroes fight your battles and boost your settlement. The official patch notes name Stalwart and Rover factions, and community guides list Aeronaut and Mariner as well. Community guides also report a large health bonus, around +25%, for a team of five heroes from the same faction. Faction counters differ between guides, so check the in-game info before you build around one.
My advice: pick one faction early and pour resources into its best heroes instead of leveling everyone. My Tiles Survive tier list shows which heroes are worth it. Pets arrived in version 2.6.100. You get eggs from Intel missions, and grown pets give stat bonuses to all heroes, but the system unlocks gradually with your State’s progress.
Step 5: Daily Habits That Save Time
- Join an active alliance. Alliance Duel, Reservoir Raid and Arcadian Conquest all reward group play, and alliance members can send gifts, including Weekly and Monthly Passes.
- Claim free enlistment. Since version 2.6.200, the Enlistment Office gives you a number of free troop enlistments each day.
- Use free healing. The Hospital has a free daily heal limit. Use it before spending items on healing. My Tiles Survive F2P guide covers more ways to save Gems.
- Clear your mail. Mail with attachments now deletes itself after expiry, rewards included, so claim them on time.
- Read the patch notes. FunPlus posts patch notes and Developer Feedback on the official site about every two weeks.
FAQ
Do I need an emulator to play Tiles Survive on PC?
No. There’s an official Windows launcher, available free from the official site.
Can I move my phone progress to PC?
Yes. Bind your account on mobile, then log in on PC with the same method. FunPlus confirms App Store and Google Play accounts work on PC.
Where do I find my player ID?
Tap your avatar in the top-left corner to see your UID.
Is Tiles Survive free?
Yes. It’s free to play with optional in-app purchases.
For the full picture, read my Tiles Survive review, then plan your team with the Tiles Survive tier list. More free strategy games are in the MMO Strategy section, and the PC download and patch notes are on the official Tiles Survive website.

